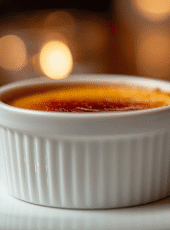
Before we dive into the custard and caramel for our Crème Brûlée , here’s a quick story about how this dessert stole my heart — but hey, if you’re impatient, just skip to the recipe below. 😉
The Night I Fell in Love with Crème Brûlée
It was a rainy Friday evening. I had just wrapped up a long week, craving something decadent and romantic, yet elegant. As I leafed through my old recipe binder (slightly stained, coffee-splashed, with scribbles in the margins), I stumbled upon the page titled “Crème Brûlée – The Dessert with a Snap.” My heart did a little jump. I haven’t made it in years.
I decided: tonight’s the night. I’d treat myself (and maybe a lucky guest) to silky custard beneath a crisp shell of caramel.
As the rain tapped against the kitchen window, I gathered my ramekins, cream, eggs, sugar, and vanilla bean. And I embarked on a little adventure of flavors, patience, and that glorious moment: tap! — the sugar top cracks, and you dive in with your spoon.
If you’re ready for a fun kitchen journey (and a show-stopping dessert), stay with me. By the end you’ll know how to make crème brûlée like a pro — plus tips, FAQs, and even the calorie count (for those of us who like a little dessert guilt check).
What Is Crème Brûlée (and Why It’s Magical)
“Crème brûlée” literally means “burnt cream” in French. At its core, it’s a creamy, vanilla-infused custard topped with a brittle layer of caramelized sugar. That contrast — cool, silky custard and hot, crunchy sugar — is the magic.
The history is part mystery, part legend: some trace it to 17th-century French cookbooks (François Massialot’s Cuisinier Royal et Bourgeois, 1691), others find roots in English “burnt cream” or Spanish crema catalana (a close cousin flavored with cinnamon and lemon zest) Regardless of where it came from, it’s now a beloved classic on dessert menus around the world.
And here’s one reason I love it: unlike many fancy desserts, crème brûlée uses just a handful of ingredients. You get tremendous payoff (in flavor and presentation) for minimal fuss — if you follow the steps.
What You’ll Need (And Why They Matter)
Before we dive into how, let’s talk why these ingredients matter. This way, when you experiment or improvise, you’ll understand what you can tweak — and what’s essential.
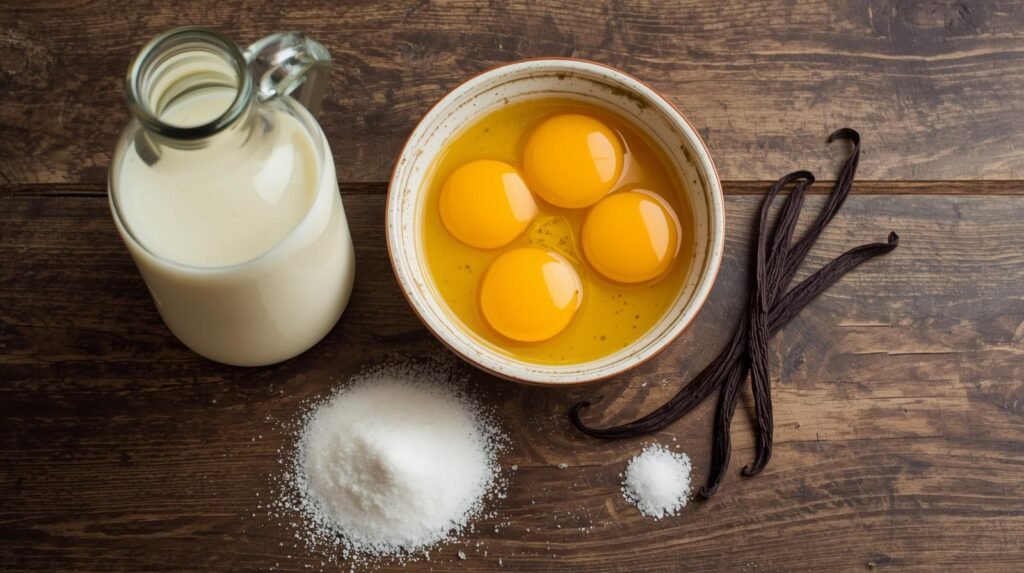
Ingredients (for 4 ramekins, ~150–180 ml each):
- 500 ml heavy cream (the fat is essential for richness)
- 5 large egg yolks
- ½ cup (100 g) granulated sugar (divided)
- 1 vanilla bean (or high-quality vanilla extract, though bean is superior)
- Pinch of fine salt
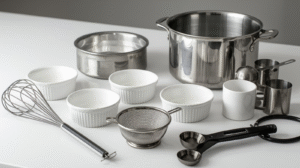
Tools & equipment:
- 4 shallow ramekins
- A deep baking dish/tray (to hold the water bath)
- Saucepan
- Whisk
- Fine mesh sieve (optional, but good for smooth custard)
- Kitchen torch (preferred) or broiler / hot spoon trick
- Measuring spoons and cups (for accuracy)

Why these elements matter:
- Heavy cream gives richness, creamy mouthfeel, and stability — substituting half-n-half or milk will likely lead to a less silky custard.
- Egg yolks provide structure and creaminess; too many whites, and you risk scrambling or a spongy texture.
- Sugar has dual roles: sweetening the custard, and providing the raw sugar for caramelization.
- Vanilla bean offers the best aromatic, sophisticated flavor; while extract works, you lose those little black vanilla flecks and some depth.
- Water bath (bain-marie) ensures gentle, even cooking so the custard sets slowly without curdling or cracking.
- Torching gives you control over the caramel layer. Broiling can work but is less precise. (More on that later.)
Step-by-Step: Making the Crème Brûlée
I’m going to walk you through the steps — but I’ll break in with little stories, tips, and “kitchen confessions” along the way.
1. Preheat & get cozy
Preheat your oven to 150 °C (300 °F). (Some recipes use 130 °C; you can adjust based on your oven’s temperament.) I like to preheat early, make a little tea, and savor the quiet kitchen moment before the dessert journey begins.
Fill your kettle or pot with water (you’ll need it hot, later, for the water bath).
2. Infuse the cream
Split your vanilla bean lengthwise, and scrape out the seeds. Drop both seeds and pod into a saucepan with the cream. Gently heat until just shy of boiling — you’ll see tiny bubbles forming at edges, “steam” rising — then turn off the heat and let it sit, covered, for 10–15 minutes to infuse.
During that waiting time, I sometimes imagine the whispered conversations of vanilla pods and cream in the saucepan. (Yes, I know — kitchen weirdness.)
3. Whisk yolks and sugar
While the cream is infusing, whisk together the egg yolks and half the sugar (so about 50 g) until the mixture becomes pale and slightly thick — you’ll want good incorporation but not over-aeration.
4. Temper & combine
This is the trickiest part: slowly pour (or ladle) the warm cream into the yolk mixture, whisking constantly — gradually heating the yolks so they don’t scramble. Once about half the cream is in, you can pour more steadily and whisk until it’s well mixed.
If you see little lumps or coagulated bits, strain through a fine sieve into a clean bowl. That gives you a silky custard texture.
5. Divide among ramekins & water bath
Place your ramekins in a baking dish or tray. Pour the custard mixture evenly into each ramekin (leaving a little space at top). Then, carefully pour hot water around (not into) the ramekins, to reach about halfway up their sides (i.e. a bain-marie).
I remember one time I spilled water into a ramekin — custard got watery edges. From then on, I always “pour with care and respect.”
6. Bake gently
Bake in the oven 30–40 minutes, or until the custard is mostly set but still has a slight jiggle at the center (it will continue to set as it cools). Overbaking is a common pitfall.
Once done, carefully remove the trays, lift out the ramekins, discard the hot water, and cool to room temperature. Then refrigerate at least 2–4 hours — or better, overnight.
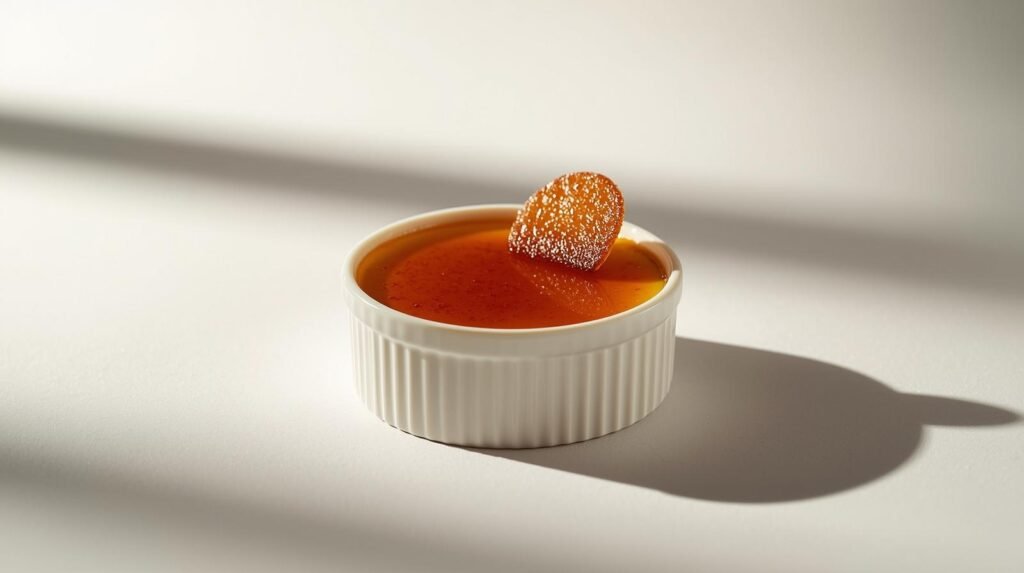
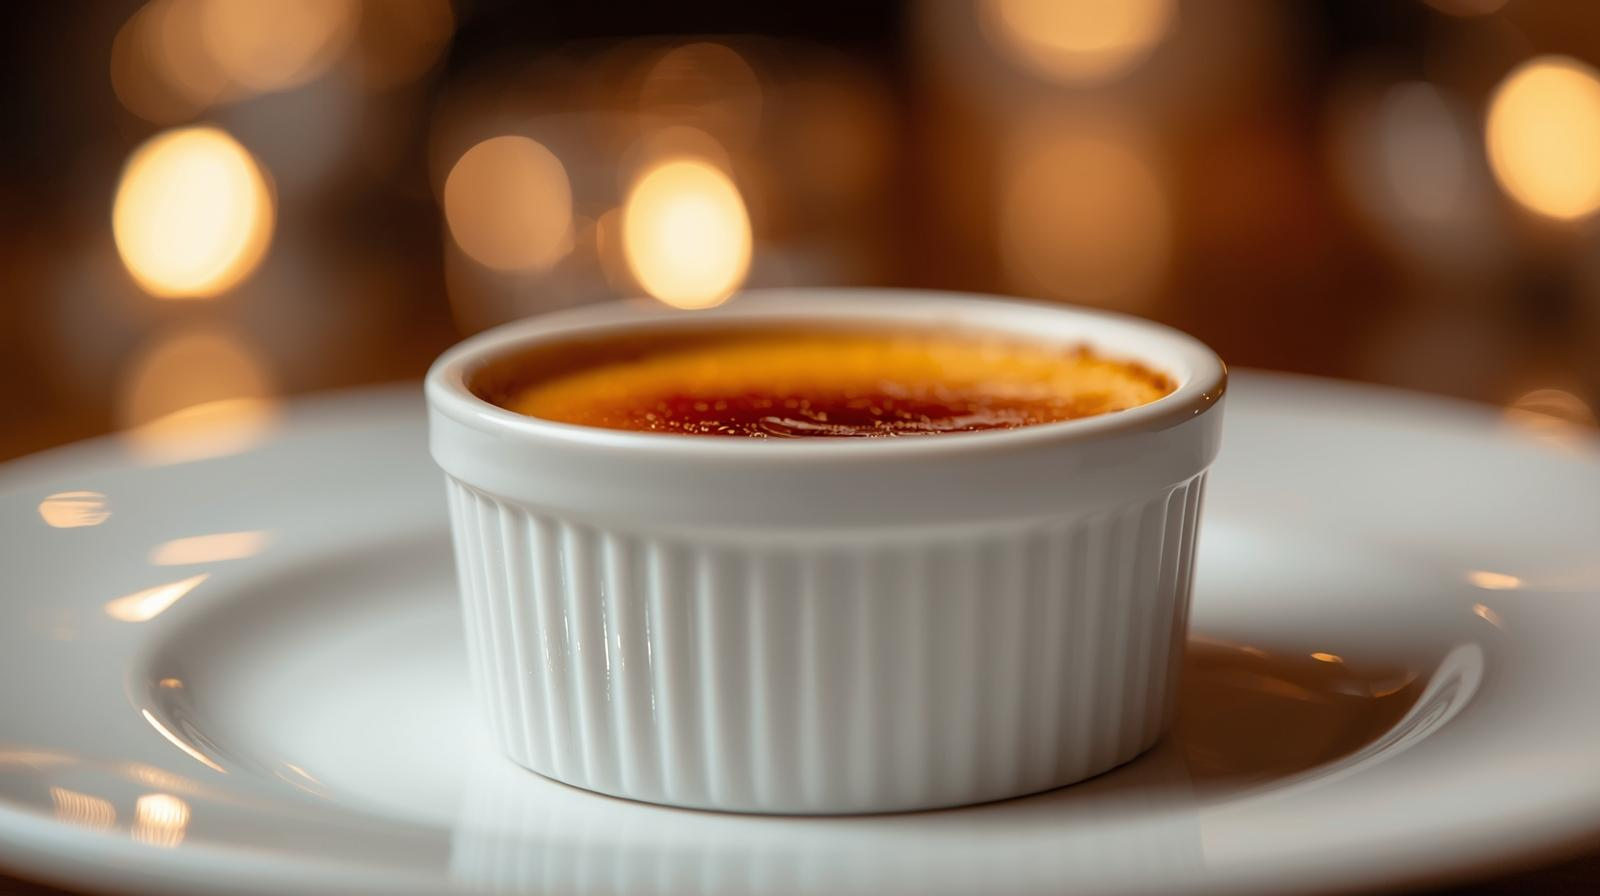
7. Caramelize just before serving
This is the dramatic finale. Sprinkle a thin, even layer (about 1 tsp) of sugar on top of each custard. Use a kitchen torch: keep it moving, not too close in one spot, until it melts, bubbles, and turns golden brown.
Alternatively, if you have no torch, use the broiler in your oven, placing the ramekins on the top shelf, watching every few seconds, or — a fun trick — heat the back of a metal spoon over flame and press it on the sugar layer to caramelise.
Once caramelized, let the sugar harden (cool for ~1 min), then serve immediately. The contrast — cold custard, hot sugar top — is best enjoyed right away.
If you burnt it, don’t worry. Here’s All Your Burning Questions About Crème Brûlée.
Yield, Time & Calorie Count
Yield: 4 servings (in 4 ramekins, ~150–180 ml each)
Prep time: ~20 minutes
Bake & setting time (plus chill): ~2–4 hours, or overnight for best results
Estimated Nutrition (per serving):
A typical crème brûlée (~260 g serving) contains approximately 294 calories, with about 7.4 g fat, 46 g carbohydrates, and 11 g protein.
Alternatively, many recipes list between 320 kcal per serving (Allrecipes version)
(Your actual count may vary depending on portion size and exact ingredients.)
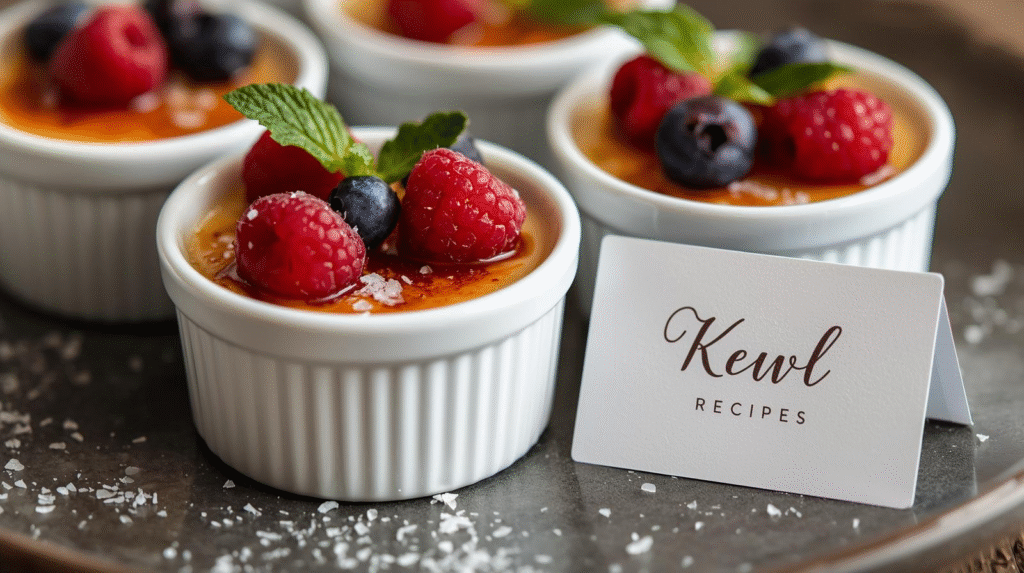
Serving & Presentation Ideas
- Serve with fresh berries (raspberries, blueberries) on the side — their tartness offsets the sweetness.
- A sprig of mint adds color and freshness.
- For a twist: top with flaked sea salt to give a salted-caramel vibe.
- Use mini ramekins for bite-sized desserts if hosting.
- Print the Kewl Recipes logo (or a little dessert card) and prop it beside your ramekins for an Instagram-worthy set up!
Frequently Asked Questions (FAQ)
Below are some questions crème brûlée lovers always ask when attempting crème brûlée.
Q1: Why didn’t my crème brûlée set / it’s still runny?
You likely underbaked or the custard mixture wasn’t hot enough. Bake until almost set, with a slight jiggle, then chill so your crème brûlée fully firms.
Q2: Why did my custard curdle?
You overbaked it or used too high heat. That causes the egg proteins to squeeze out moisture and become grainy.
Q3: Can I substitute milk or half-and-half instead of heavy cream?
Short answer: not recommended. The fat in heavy cream helps create the silky mouthfeel and structure. Using lower fat milks often leads to weaker texture or failure to set.
Q4: Can I reduce sugar or use alternative sweeteners?
You can reduce sugar slightly, but too little may affect texture and the caramelization. For alternative sweeteners (e.g. erythritol, monk fruit) — you’ll have to experiment carefully; they don’t always behave like sucrose under high heat.
Q5: No torch — what do I do?
Use the broiler at high heat, placing the custards on the top shelf, watching constantly. Or heat a metal spoon over flame and press it on the sugar.
Q6: Can I prepare it a day ahead?
Yes! In fact, chilling overnight often gives better texture. Just wait to caramelize the top until just before serving (otherwise the sugar may soften).
Q7: Can I freeze crème brûlée?
I don’t recommend it: freezing crème brûlée can mess with the texture, causing separation or weeping after thawing.
Q8: Difference between crème brûlée and other custards (flan, panna cotta, etc.)?
- Flan has caramel at the bottom and is inverted to serve, whereas crème brûlée’s caramel is on top.
- Panna cotta is set with gelatin (no eggs) and unlike crème brûlée, has no burnt sugar topping.
- Crema catalana (Spanish variant) is very similar in structure, but often flavored with citrus and cinnamon instead of pure vanilla.
Why This Recipe Will Make You Feel Like a Dessert Hero
Let me circle back to that rainy evening. After caramelizing the sugar and hearing that snap, I watched (and tasted) small wonders unfold: the sugar cracked beautifully, the custard was cool, silky, and deeply vanilla. I sat down with a spoon, the lights dimmed, and savored — and texted a picture to a friend saying: “I made that dessert.”
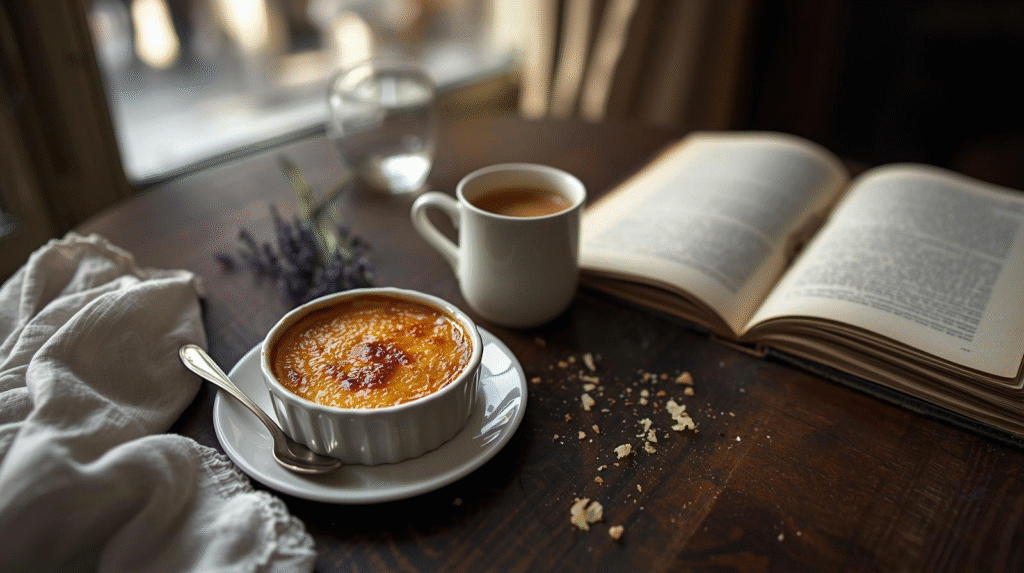
That moment — the tension, the reward — is why I love crème brûlée. It’s simple ingredients, gentle technique, and a dramatic finish. It’s a dessert that feels fancy but is absolutely doable at home.
So go ahead, preheat your oven, gather your ramekins, and treat yourself (or someone special) to this showstopper.
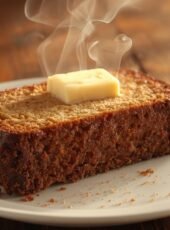
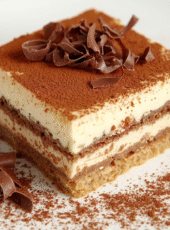
Loved cracking that sugar top? Then you’re definitely a dessert person (welcome to the club!). Try more creamy delights like Tiramisu, Chocolate Chip Cookies, or Banana Bread next — each one just as indulgent but totally doable at home for treats that make every night feel like a fancy café date.
Make Crème Brûlée Like a Pro: 7 Step-by-Step Guide with Tips, FAQs & Calories
4
servings10
minutes20
minutes320
kcalThe Night I Fell in Love with Crème Brûlée
It was a rainy Friday evening. I had just wrapped up a long week, craving something decadent and romantic, yet elegant. As I leafed through my old recipe binder (slightly stained, coffee-splashed, with scribbles in the margins), I stumbled upon the page titled “Crème Brûlée – The Dessert with a Snap.” My heart did a little jump. I haven’t made it in years.
I decided: tonight’s the night. I’d treat myself (and maybe a lucky guest) to silky custard beneath a crisp shell of caramel.
As the rain tapped against the kitchen window, I gathered my ramekins, cream, eggs, sugar, and vanilla bean. And I embarked on a little adventure of flavors, patience, and that glorious moment: tap! — the sugar top cracks, and you dive in with your spoon.
If you’re ready for a fun kitchen journey (and a show-stopping dessert), stay with me. By the end you’ll know how to make crème brûlée like a pro — plus tips, FAQs, and even the calorie count (for those of us who like a little dessert guilt check).
Ingredients (for 4 ramekins, ~150–180 ml each):
500 ml heavy cream (the fat is essential for richness)
5 large egg yolks
½ cup (100 g) granulated sugar (divided)
1 vanilla bean (or high-quality vanilla extract, though bean is superior)
Pinch of fine salt
Step-by-Step: Making the Crème Brûlée
- Preheat & get cozy
Preheat your oven to 150 °C (300 °F). (Some recipes use 130 °C; you can adjust based on your oven’s temperament.) I like to preheat early, make a little tea, and savor the quiet kitchen moment before the dessert journey begins.
Fill your kettle or pot with water (you’ll need it hot, later, for the water bath). - Infuse the cream
Split your vanilla bean lengthwise, and scrape out the seeds. Drop both seeds and pod into a saucepan with the cream. Gently heat until just shy of boiling — you’ll see tiny bubbles forming at edges, “steam” rising — then turn off the heat and let it sit, covered, for 10–15 minutes to infuse.
During that waiting time, I sometimes imagine the whispered conversations of vanilla pods and cream in the saucepan. (Yes, I know — kitchen weirdness.) - Whisk yolks and sugar
While the cream is infusing, whisk together the egg yolks and half the sugar (so about 50 g) until the mixture becomes pale and slightly thick — you’ll want good incorporation but not over-aeration. - Temper & combine
This is the trickiest part: slowly pour (or ladle) the warm cream into the yolk mixture, whisking constantly — gradually heating the yolks so they don’t scramble. Once about half the cream is in, you can pour more steadily and whisk until it’s well mixed.
If you see little lumps or coagulated bits, strain through a fine sieve into a clean bowl. That gives you a silky custard texture. - Divide among ramekins & water bath
Place your ramekins in a baking dish or tray. Pour the custard mixture evenly into each ramekin (leaving a little space at top). Then, carefully pour hot water around (not into) the ramekins, to reach about halfway up their sides (i.e. a bain-marie).
I remember one time I spilled water into a ramekin — custard got watery edges. From then on, I always “pour with care and respect.” - Bake gently
Bake in the oven 30–40 minutes, or until the custard is mostly set but still has a slight jiggle at the center (it will continue to set as it cools). Overbaking is a common pitfall.
Once done, carefully remove the trays, lift out the ramekins, discard the hot water, and cool to room temperature. Then refrigerate at least 2–4 hours — or better, overnight. - Caramelize just before serving
This is the dramatic finale. Sprinkle a thin, even layer (about 1 tsp) of sugar on top of each custard. Use a kitchen torch: keep it moving, not too close in one spot, until it melts, bubbles, and turns golden brown.
Alternatively, if you have no torch, use the broiler in your oven, placing the ramekins on the top shelf, watching every few seconds, or — a fun trick — heat the back of a metal spoon over flame and press it on the sugar layer to caramelise.
Once caramelized, let the sugar harden (cool for ~1 min), then serve immediately. The contrast — cold custard, hot sugar top — is best enjoyed right away.
If you burnt it, don’t worry. Here’s All Your Burning Questions About Crème Brûlée.

Equipment
 Tools
Tools
Nutrition Facts
- Calories: 294kcal
- Fat: 7.4g
- Carbohydrates: 46g
- Protein: 11g