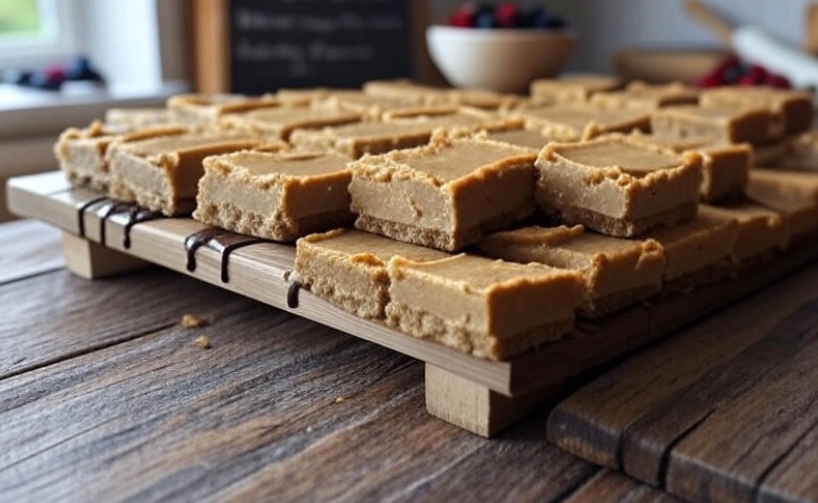
Peanut butter bars are one of those snacks that make you feel both comforted and spoiled at the same time. They’re rich, creamy, and satisfy that sweet tooth craving without taking hours in the kitchen. The best part? You don’t need to be a pro baker. In fact, with just 3 simple steps, you can whip up the perfect peanut butter bars that taste like they came straight out of a bakery.
So, if you’ve ever wanted to create a snack that’s fast, delicious, and perfect for sharing, let’s break it down together.
Why Peanut Butter Bars Are Everyone’s Favorite
Let’s be honest. Peanut butter itself is addictive. Pair it with chocolate or a cookie-like texture, and you’ve got a snack that disappears from the tray in minutes. These bars are great because:
They require very little effort.
They use ingredients most people already have at home.
They’re freezer-friendly, so you can make them ahead of time.
They’re flexible — you can adjust sweetness or add toppings.
The 3-Step Formula
Now, the recipe is simple, but it’s also powerful. Think of it like layers: the base, the peanut butter mix, and the topping. Here’s how you’ll do it:
Step 1: Create the Peanut Butter Base
The base is what holds everything together. Instead of a complicated crust, you’ll use simple ingredients:
Graham cracker crumbs (or crushed biscuits)
Melted butter
A little sugar
A generous scoop of peanut butter
Mix these together until they resemble a soft dough, then press it firmly into a baking pan. That’s your foundation right there.
Tip: Use the back of a spoon to flatten it evenly — it’ll look neat and hold better.
Step 2: Prepare the Peanut Butter Layer
This is the heart of the bar. For a creamy, melt-in-your-mouth experience:
Blend peanut butter with powdered sugar.
Add a touch of vanilla for flavor depth.
For extra creaminess, you can fold in a bit of cream cheese or melted white chocolate.
Spread this mixture on top of the base. Don’t rush here — an even layer makes the bars look beautiful once sliced.
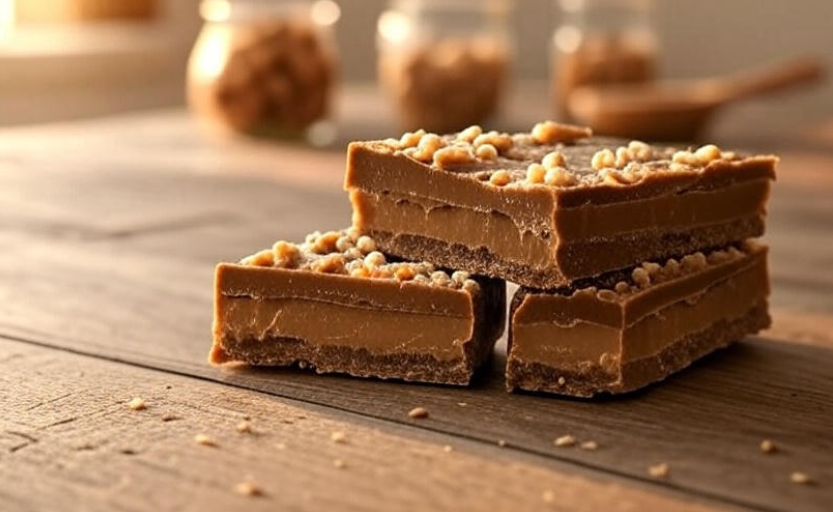
Step 3: Add the Chocolate Topping
Now comes the magic. Melt some chocolate (semi-sweet or milk works best) with a spoon of butter or cream. This gives it that glossy finish. Pour the melted chocolate over your peanut butter layer, then spread it smoothly with a spatula.
Pop the tray into the fridge for at least 2 hours. Once set, slice into bars. Congratulations — you’ve just made bakery-level peanut butter bars in three steps 🎉.
A Quick Recipe Table for Easy Reference
| Step | Ingredients Needed | What To Do |
|---|---|---|
| Base | Graham crackers, butter, peanut butter, sugar | Crush, mix, and press into pan |
| Layer | Peanut butter, powdered sugar, vanilla (optional cream cheese) | Mix and spread evenly |
| Topping | Chocolate + butter/cream | Melt, pour, and chill |
Why This Recipe Works So Well
Balance of flavors: The nutty richness is balanced with chocolate sweetness.
Texture contrast: Crumbly base, creamy middle, firm chocolate top.
Easy storage: Keeps well in the fridge or freezer.
Versatility: Add toppings like nuts, coconut flakes, or even caramel drizzle.
Tips for Making Them Perfect Every Time
Always use smooth peanut butter for a creamy texture. (Crunchy works too, if you like extra bite!)
Don’t skip chilling time — this is what sets the layers properly.
Use parchment paper in your pan so the bars lift out easily.
For clean cuts, dip your knife in warm water before slicing.
Variations to Try
Want to mix things up? Here are some fun twists:
Healthy version: Swap sugar for honey and use dark chocolate.
Protein bars: Add protein powder into the peanut butter mix.
Festive look: Sprinkle crushed candy canes or colored sprinkles on top.
Nutty overload: Mix almonds or cashews into the base for crunch.
Storage Guide
| Storage Method | How Long They Last | Best Practice |
|---|---|---|
| Room Temp | 2–3 days | Store in airtight container |
| Fridge | 7–10 days | Keep in sealed box |
| Freezer | Up to 2 months | Wrap individually for quick grab snacks |
Why People Love Making These Bars at Home
Unlike fancy desserts, these peanut butter bars don’t need special equipment. No mixer, no oven. Just a few bowls, a spoon, and a fridge. That’s it. They’re also a hit with kids because of the sweet and nutty combo. And if you’re hosting friends, they’ll think you went all out when in reality, you didn’t break a sweat. 😉
Some Common Questions (FAQs)
Q: Can I use natural peanut butter?
A: Yes, but because it’s oilier, you might need to add extra powdered sugar to thicken it.
Q: What chocolate works best?
A: Semi-sweet is the most balanced. Milk chocolate is sweeter, and dark gives it a sophisticated edge.
Q: Are these bars gluten-free?
A: If you use gluten-free graham crackers or biscuits, then yes.
Q: Do I need to bake them?
A: Nope! They’re completely no-bake, which saves time and energy.
Q: Can I make them vegan?
A: Absolutely. Use vegan butter, dairy-free chocolate, and plant-based biscuits.
Protein-packed: High Protein Snacks With Just 3 Ingredients
Final Bite
At the end of the day, desserts don’t have to be complicated. With just three simple steps — base, peanut butter layer, and chocolate topping — you can create something that tastes like a professional treat but feels homemade.
So, the next time you want to impress your family, spoil your friends, or just treat yourself after a long day, try these peanut butter bars. Easy, creamy, and unforgettable — they’re the kind of recipe you’ll find yourself making again and again.
🍫🥜 Sweet, simple, and oh-so-satisfying!